Uneven tans are no fun, especially if you’re putting in a lot of effort to make your skin that perfect shade of tan. If you prefer to get tan naturally, there are few extra precautions you can take to keep your skin bronzed instead of burnt. If self-tanning products are more your speed, try changing up your routine, which may help the product spread more evenly.
Method 1 Natural Tanning
1.Scrub your skin with an exfoliant a week before you tan.
Grab your favorite exfoliant and spread it all over your legs, arms, and any other area you’re trying to exfoliate. Get rid of any dead skin, which helps your skin be as smooth as possible when you tan.
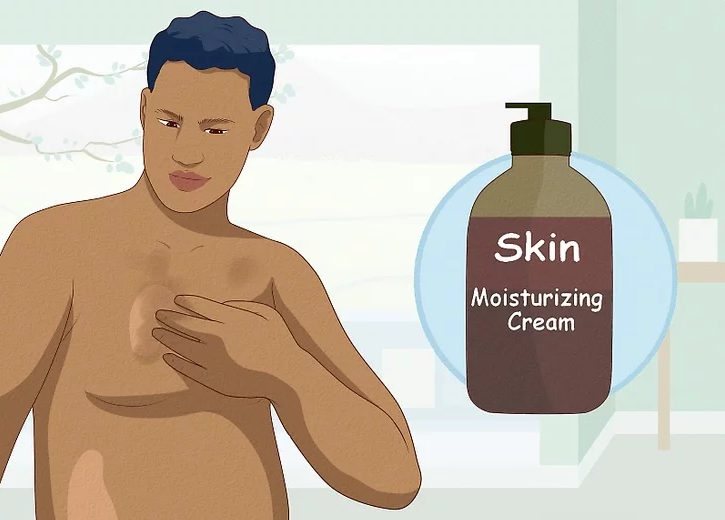
2.Moisturize your skin every night before you tan.
Moisturizing is a great habit regardless, but it’s especially useful if you’re looking into natural tanning. Apply your go-to moisturizer over legs, arms, and all other skin you plan on tanning naturally. You can choose products that contain ceramide or sodium hyaluronate.
3.Apply some sunscreen to prevent sunburns.
Ideally, slather on the sunblock around 15 to 30 minutes before you go outside, which gives the product time to stick to your skin. Opt for a product that’s at least 15 to 30 SPF, which will keep your skin protected from sun radiation while you’re relaxing outside.Apply the sunscreen consistently over your skin to prevent burning, which will help keep your tan more even.
- You can also use a facial sunscreen, which is often formulated with less oils and feel lighter on your face.
- Always be sure to reapply your sunscreen at least every two hours.
4.Wear a hat and sunglasses when you tan outdoors.
As you’re enjoying the sunshine, pick out a wide-brimmed hat that can provide a lot of shade for your skin. Additionally, reach for some sunglasses that will protect the skin around your eyes.
- The skin on your face tends to be more sensitive while also receiving more sun exposure than the rest of your body. Facial sun damage can not only lead to sunburns, but increased wrinkles, fine lines, and brown spots over time as well.
5.Get some shade while you tan outside to prevent sunburn.
While tanning definitely involves sunlight, you don’t want to spend your entire day in direct sunlight. Give yourself a break and relax in a cool, shady area, which will give your skin a reprieve from the unrelenting sun. If your skin gets burned, you won’t have an even tan or skin tone later on.
- Taking breaks in the shade will also cut back your risk of developing sunburn.
6.Turn over every 20-30 minutes to get a consistent tan.
Start by lying on your back, whether you’re chilling on a blanket or lounging on a chair. After 20-30 minutes, flip over and lie on your stomach for another 20-30 minutes. Resist the temptation to more than this—these time limits will help save you from sunburn, which will lead to an uneven tan.
7.Stop naturally tanning after about 1 hour so you don’t burn.
Unfortunately, tanning outside for 10 hours straight will not give you a mega-tan. Realistically, most people reach their daily tanning limit after a few hours. At this point, it’s best to go inside, or seek out some shade instead.
- If you spend too much time in the sun, you may be setting yourself for a nasty sunburn, which can definitely lead to an uneven tan. Too much sunlight can also give your skin UV damage.
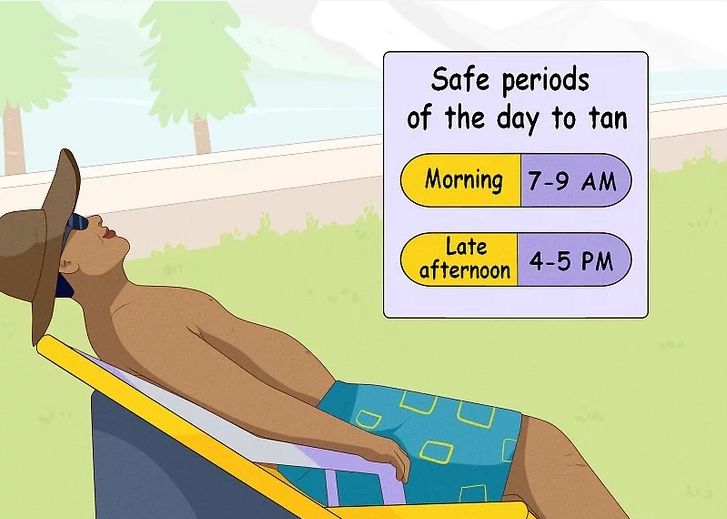
8.Choose safe periods of the day to tan.
The sun is at its strongest between 10 AM and 3 PM, so avoid tanning outside during this window. Instead, plan to tan in the morning or late afternoon, which will help protect your skin from harsh sunlight. Sunburn won’t do you any favors for your tanning goals, and may make your skin tone look inconsistent, which isn’t ideal.
9.Cover natural tan lines with a self-tanning product.
Go over the tan lines with an exfoliating product, so the skin is smooth. Grab your self-tanner and apply it over the tan lines, which will help disguise them. Focus on the pale areas, so your skin looks consistent and even.
- It may take a few layers of “painting” before your tan lines are covered.
- Bronzer mixed with moisturizer is a good cover-up option if you’re looking for a quick fix.
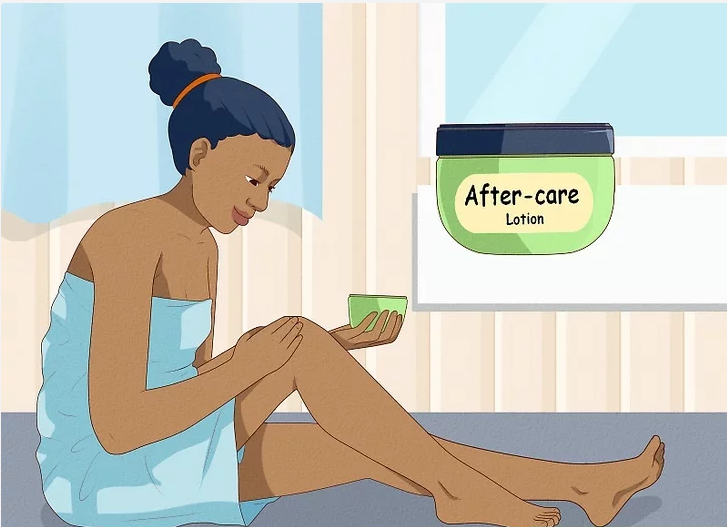
10.Apply after-care lotion if you’ve been tanning naturally.
Hop in the shower, then towel-dry your skin. Grab a bottle of lotion labeled as “after-care,” or something similar and spread this lotion over any skin that was exposed to direct sunlight.
There are after-care products designed for “prolonging” your tan.
Method 2 Self-Tanner
1.Exfoliate your skin to help your tan stay consistent.
Use your favorite exfoliant before you plan on applying any kind of fake tanning product. The scrub will clear away any dead skin from your legs, arms, and any other place you plan on tanning.
- It’s best to exfoliate anywhere for 1 day to 1 week before you plan on tanning.
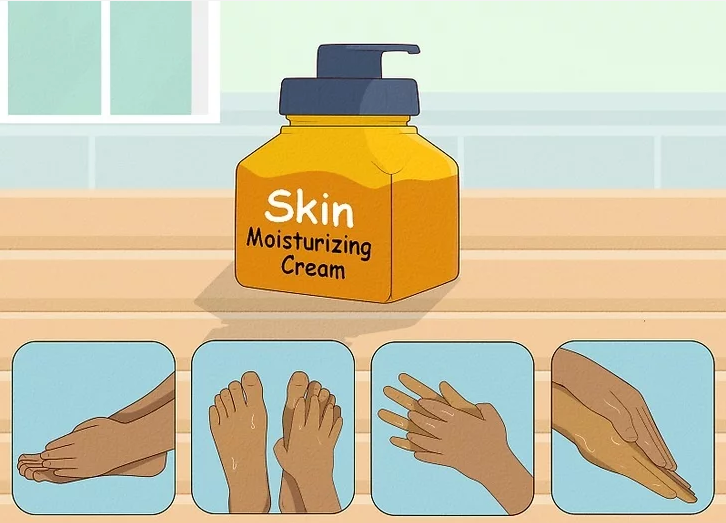
2.Moisturize your skin if you’re getting a fake tan.
Whenever you tan, you’re using your skin as a canvas. To keep this skin as smooth as possible, spread your favorite moisturizer over your skin. Focus especially on uneven areas of your skin, like your knuckles, ankles, toes, inner wrists, and between your fingers.
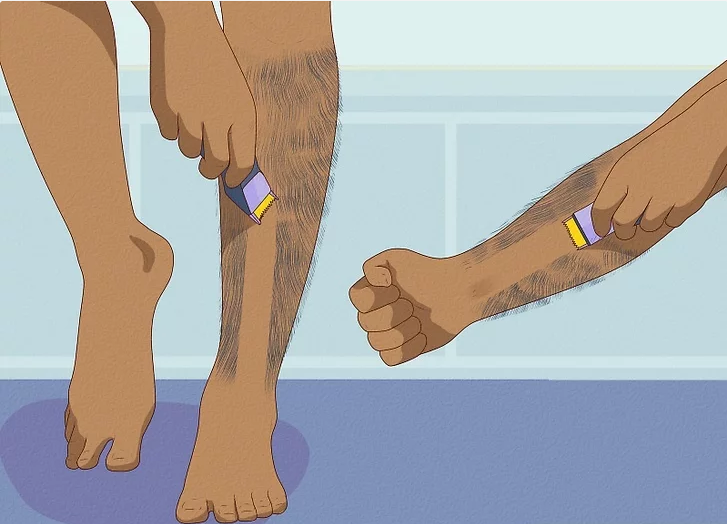
3.Get rid of any hair from the spots you’re planning to self-tan.
Unlike natural tanning, self-tanners are applied topically, and require a smooth surface to work properly. Shave or wax away any hair from your legs and arms, and any other place you plan on self-tanning.
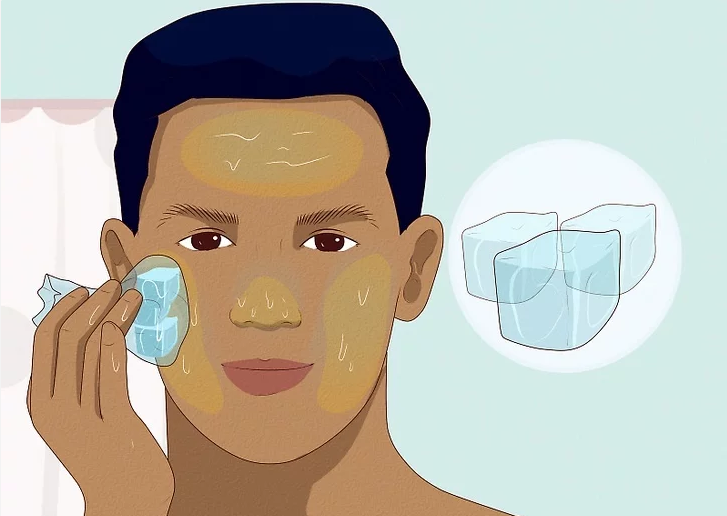
4.Ice your skin before using a self-tanner.
Grab an ice cube and slide it all around your cheeks, nose, and forehead, which will close your pores before you apply the self-tanning product.
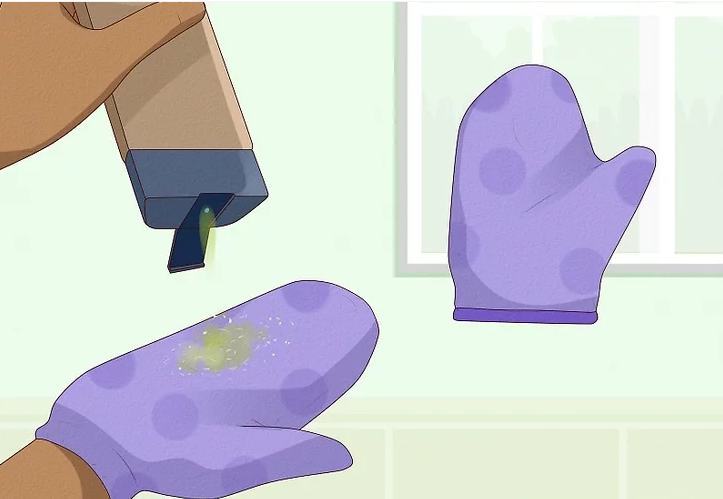
5.Apply your tanning product with a tanning mitt.
Tanning products may not be super consistent if you apply them with just your fingers. Instead, slip your hand into a tanning mitt, a large glove that helps provide a more even application. Squeeze in a few drops of your self-tanning product, and let your mitt do the rest.
- You can get a tanning mitt online if your tanning pack doesn’t come with one.
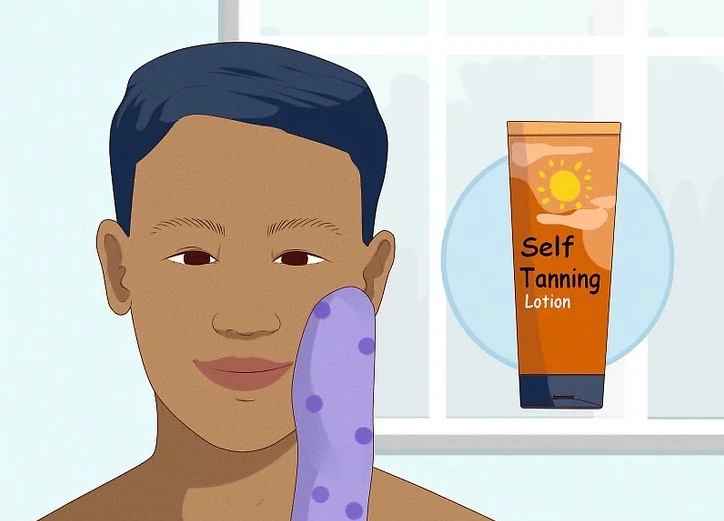
6.Spread the tanning product over your face.
Stir a couple drops of your tanning product in with a pea-sized amount of your usual face moisturizer. Massage the tanning product into your cheeks, forehead, nose, and chin, along with your neck and lower neckline. Double-check that the product is evenly applied, and that there are no leftover streaks.
7.Stand in front of a mirror when you use the tanning product.
Check yourself in the mirror while you apply the tanning product, which will help you notice any missed spots.If you’re having trouble reaching your back, flip the mitt around so the applicator is resting along the back of your hand.
- You can always ask a friend or family member to help apply the tan in any hard-to-reach places.
8.Change into baggy clothing so the tan won’t smear.
Don’t slip into skintight clothes while your tanning product dries—this could cause it to smear, or look patchy and streaky. Instead, relax in some oversized sweatpants and a baggy shirt, which gives your skin plenty of breathing room.
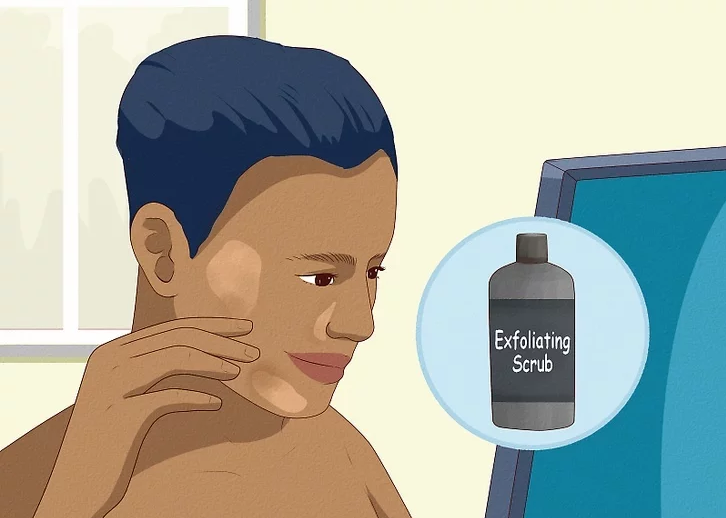
9.Exfoliate the skin if your fake tan is uneven.
Grab a pea-sized amount of your favorite exfoliant and rub it on any uneven sections of your tan. Focus specifically on the darker, uneven section to remove the extra product.
10.Re-apply a fake tan with moisturizer to help even out your skin.
Don’t panic if an exfoliating product isn’t quite getting the job done. Instead, rub a pea-sized amount of moisturizer over the problem section of skin. Then, spread your usual tanning product on top of the skin, which will help even out your skin overall.
Post time: Nov-25-2021


